Installing VMware on Kali (Host)
VMs are great, as there are many reasons why to use them. One of the being, able to run multiple Operating Systems at the same time. You can have your host machine “untouched”, and then only interact with the guest VMs. Another is when something is going right, take a snapshot. When something goes wrong, revert back.
VMware Workstation & Fusion is a commercial software (there is VMware Player which is free but it is limited in features). There are various free or open source solution (such as VirtualBox, QEMU, KVM/Xen with virt-manager).
Preparation
Before trying to install VMware, please make sure your version of Kali Linux is up-to-date, and if required, reboot the machine.
kali@kali:~$ sudo apt update
[...]
kali@kali:~$
kali@kali:~$ sudo apt full-upgrade -y
[...]
kali@kali:~$
kali@kali:~$ [ -f /var/run/reboot-required ] && sudo reboot -f
kali@kali:~$
Download
To start with, you will need to download VMware. You can do this by going to VMware’s download page. At the time of writing, the latest version is 15.5.1-15018445.
Alternatively, you can do the following command line method.
kali@kali:~$ sudo apt install -y curl
[...]
kali@kali:~$
kali@kali:~$ curl -L https://www.vmware.com/go/getworkstation-linux \
  > ~/Downloads/vmware.bin
kali@kali:~$
kali@kali:~$ file Downloads/vmware.bin
Downloads/vmware.bin: a /usr/bin/env bash script executable (binary data)
kali@kali:~$
kali@kali:~$ ls -lah Downloads/vmware.bin
-rwxr-xr-x 1 kali kali 511M Feb 14 20:46 Downloads/vmware.bin
kali@kali:~$
When everything is up-to-date, and ready to go, make sure the file is executable and then call it.
kali@kali:~$ chmod +x ~/Downloads/vmware.bin
kali@kali:~$
kali@kali:~$ sudo ~/Downloads/vmware.bin
Extracting VMware Installer...done.
Installing VMware Workstation 15.5.1
    Configuring...
[######################################################################] 100%
Installation was successful.
kali@kali:~$
We can see we have installed VMware Workstation 15.5.1. The version number may be needed later on.
After the installer is installed, you should be able to just run vmware to continue setup.
kali@kali:~$ vmware
kali@kali:~$
At this point, you should be be straight forward, often just clicking through.
Setup
The first part may be VMware Kernel Modules.
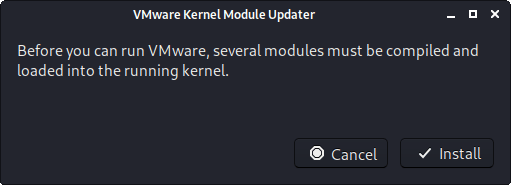
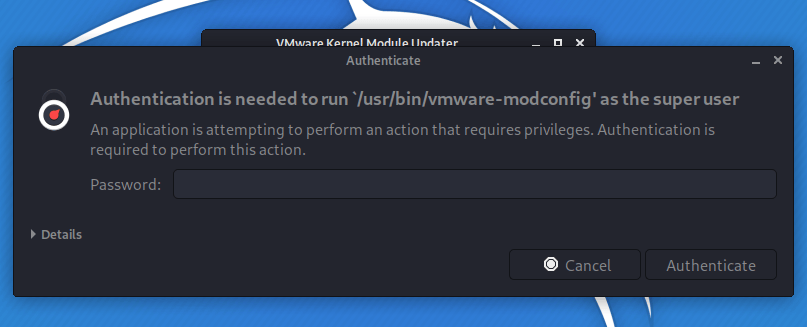
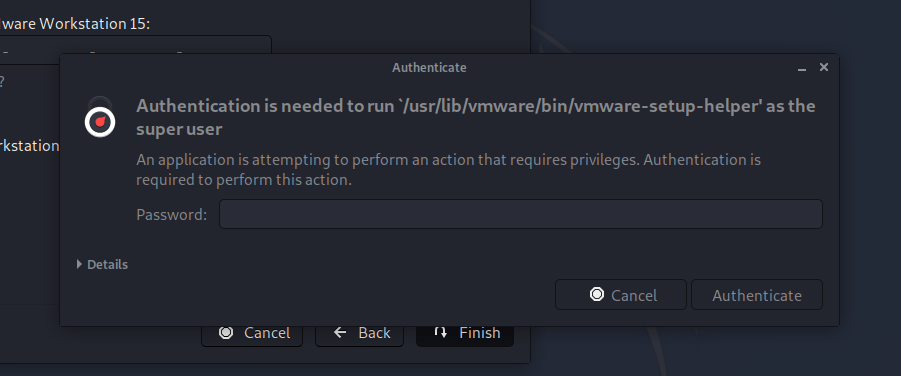
If vmware wasn’t called with superuser privileges, you may be prompted for a password.
At this point, it may not install correctly, and get the error message: Unable to install all modules. See log /tmp/vmware-kali/vmware-*.log for details. (Exit code 1). This is often due to Kali’s kernel being newer than what VMware is expecting.
Looking at the log may help with troubleshooting the issue as well as the guide at the end of this post, vmware-host-modules.
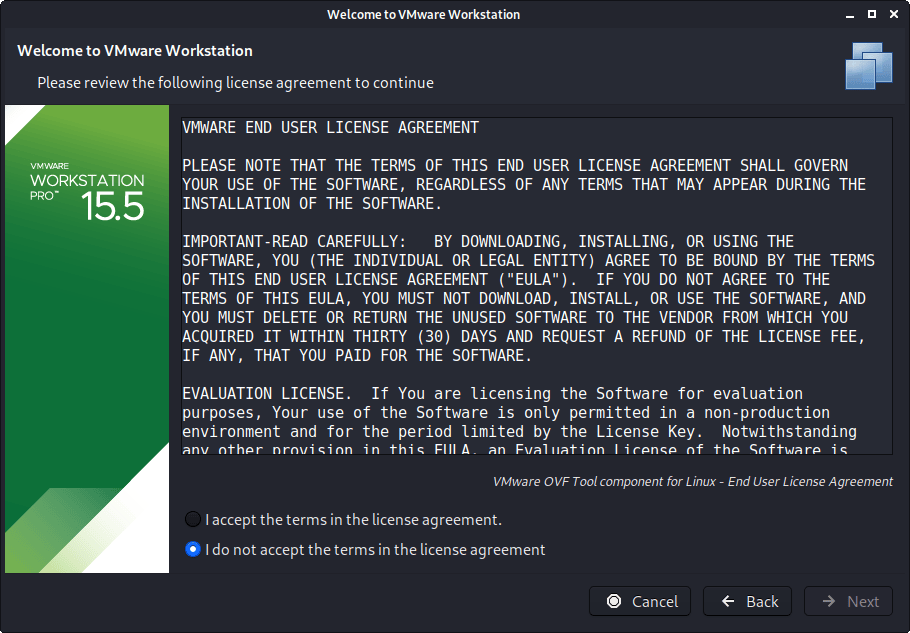
You will need to accept the legal agreement.
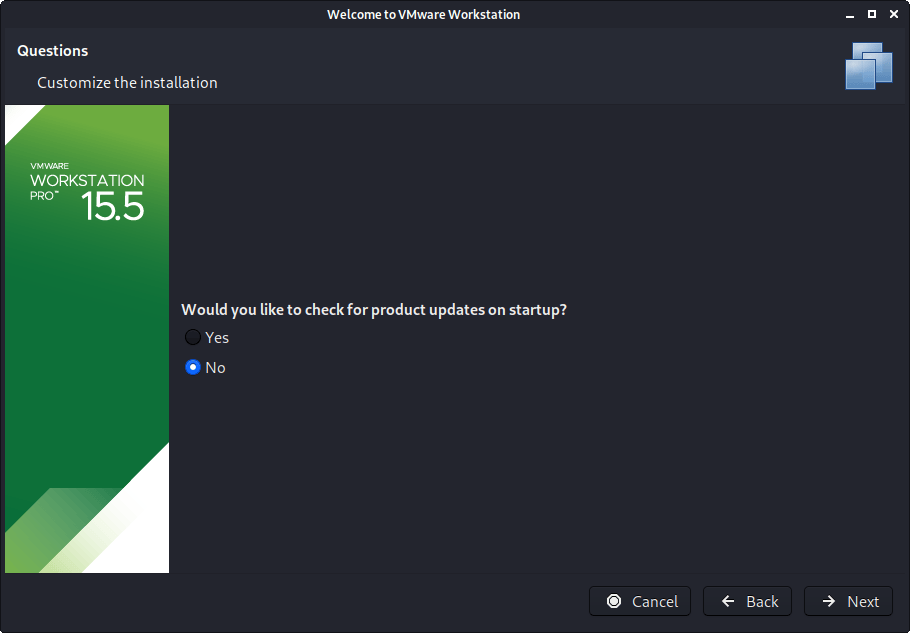
You may wish for it VMware to check for any updates.
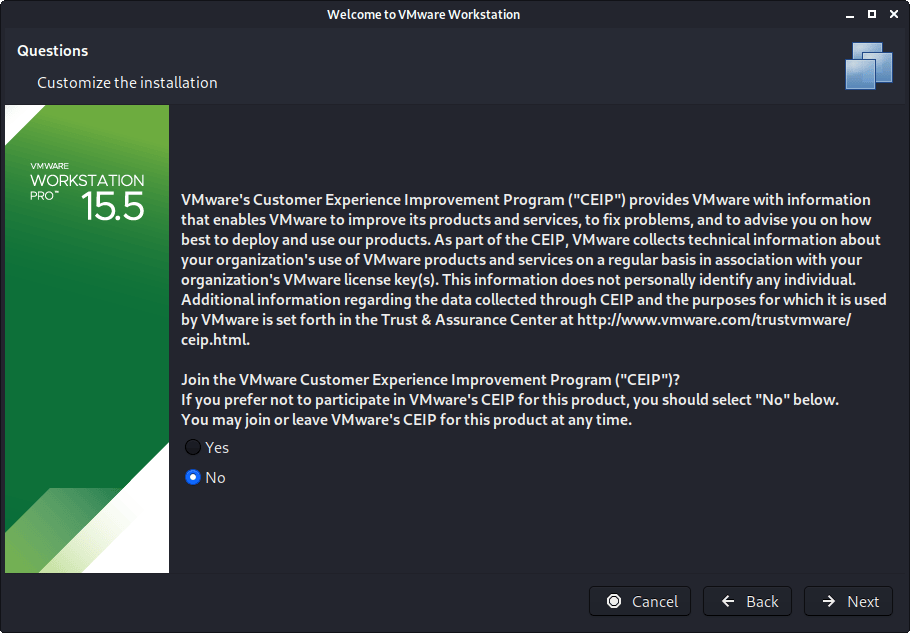
You may wish to join “VMware Customer Experience Improvement Program”.
Enter the current username.

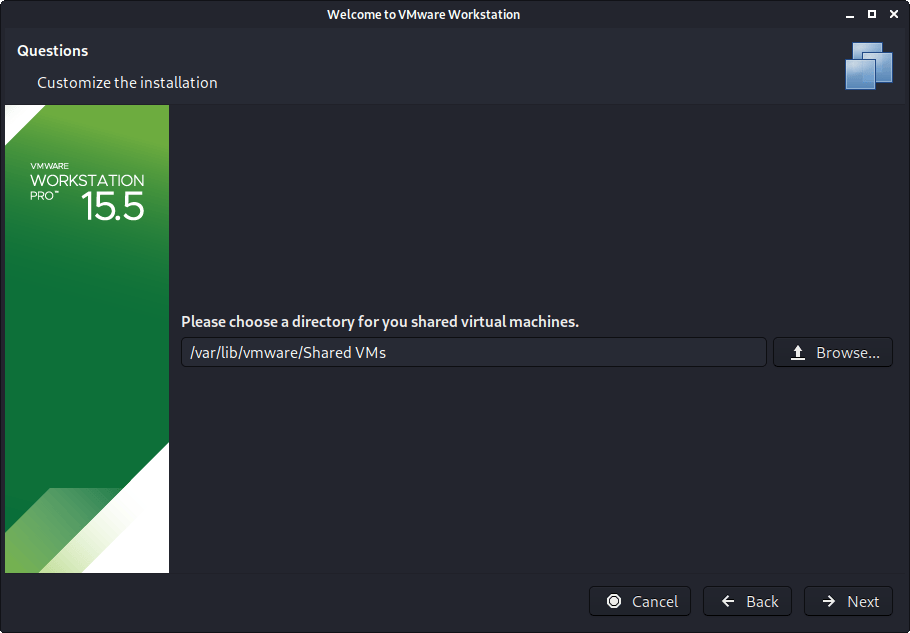
Enter a location for Shared VMs (this is different to each users own VMs).
Enter a port for HTTPS access

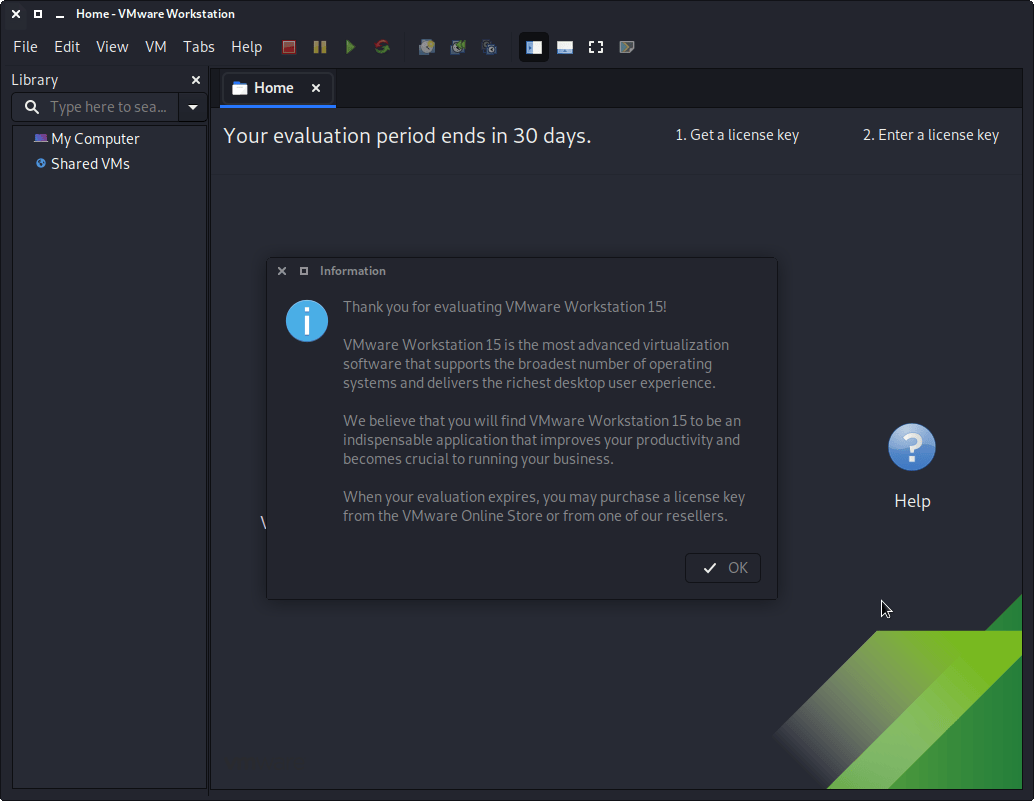
If you have a product key, you can enter it now, else it will be a trial for 30 days.

You may be once again prompt for superuser privileges if you didn’t execute the setup file with it.
The final screen should look like this.
If you now wish, you are able to install Kali Linux in a VMware VM (on Kali Linux).
Troubleshooting
libaio missing
If you see the following problem, upon trying to run vmware.
Try installing the libaio1 package.
kali@kali:~$ vmware
[AppLoader] Use shipped Linux kernel AIO access library.
An up-to-date "libaio" or "libaio1" package from your system is preferred.
kali@kali:~$
kali@kali:~$ sudo apt install -y libaio1
[...]
kali@kali:~$
Then the next time you start vmware, it should of gone away.
Missing Packages
From time to time, things may not go right. There could be a number of reasons why VMware may not install. The first thing to check would be you have all the necessary packages installed.
kali@kali:~$ sudo apt install -y build-essential linux-headers-$( uname -r ) vlan libaio1
[...]
kali@kali:~$
Try running vmware again, and see if now setup continues.
Too Newer Kernel
A common issue is because the setup file for VMware isn’t supporting the latest kernels, which could be an issue as Kali Linux is a rolling distribution and receives frequent updates. If this is the case, we can patch VMware modules to support this.
kali@kali:~$ sudo apt install -y git
[...]
kali@kali:~$
kali@kali:~$ sudo git clone \
  -b workstation-$( grep player.product.version /etc/vmware/config | sed '/.*\"\(.*\)\".*/ s//\1/g' ) \
  https://github.com/mkubecek/vmware-host-modules.git \
  /opt/vmware-host-modules/
[...]
kali@kali:~$
kali@kali:~$ cd /opt/vmware-host-modules/
kali@kali:/opt/vmware-host-modules$ sudo make
kali@kali:/opt/vmware-host-modules$
kali@kali:/opt/vmware-host-modules$ sudo make install
kali@kali:/opt/vmware-host-modules$
Try now to install VMware, by doing vmware.
If you are still having issues, you may need to restart your Kali Linux before trying one more final time.
vmware-host-modules + Kernel Updates
As VMware has various kernel modules, we need to make sure they are kept up-to-date and re-patched when Kali Linux’s kernel gets updated. This can be achieved by the steps in the following guide.
kali@kali:~$ cat<<EOF | sudo tee /etc/kernel/install.d/99-vmmodules.install
#!/bin/bash

export LANG=C

COMMAND="\$1"
KERNEL_VERSION="\${2:-\$( uname -r )}"
BOOT_DIR_ABS="\$3"
KERNEL_IMAGE="\$4"

VMWARE_VERSION=\$(
  grep player.product.version /etc/vmware/config \
    | sed '/.*\"\(.*\)\".*/ s//\1/g'
)

ret=0

case "\${COMMAND}" in
    add)
       [ -z \${VMWARE_VERSION} ] \
         && exit 0

       git clone -b workstation-\${VMWARE_VERSION} https://github.com/mkubecek/vmware-host-modules.git /opt/vmware-host-modules-\${VMWARE_VERSION}/
       cd /opt/vmware-host-modules-\${VMWARE_VERSION}/
       make VM_UNAME=\${KERNEL_VERSION}
       make install VM_UNAME=\${KERNEL_VERSION}

       ((ret+=\$?))
       ;;
    remove)
        exit 0
        ;;
    *)
        usage
        ret=1;;
esac

exit \${ret}
EOF
kali@kali:~$
Still can’t start up VMware? vmware-modconfi
If VMware is unsuccessful, we can dig a little further by running the following.
kali@kali:~$ sudo vmware-modconfig --console --install-all
[...]
kali@kali:~$
kali@kali:~$ sudo vmware-modconfig --console --install-all 2>&1 | grep error
[...]
kali@kali:~$
Looking at the output, may either give us the exact issue, or at the very least something to search the Internet for.
Can’t Power on a Virtual Machine
You may also face the following issues, when trying to power on a VM.
Failed to initialize monitor deviceCould not open /dev/vmmon: No such file or directory. Please make sure that kernel module 'vmmon' is loadedUnable to change virtual machine power state: Transport (VMDB) error -14: Pipe connection has been broken.
The quickest solution to fix these would be to reboot Kali Linux and try again.
Source: https://www.kali.org/docs/virtualization/install-vmware-host/
Author: g0tmi1k


